How to Build AI Blog Automation with n8n: A Technical Guide
Let’s be honest: keeping up with the endless demand for high-quality content is tough. For both tech teams and marketers, manual content creation often turns into a massive bottleneck. Drafting, formatting, and finally hitting “publish” on a single comprehensive technical article can easily eat up hours of your day, dragging your focus away from core engineering or higher-level strategy.
If you catch yourself or your team constantly bouncing between ChatGPT, Google Docs, and your CMS, you’re bleeding valuable time on tedious admin work. Thankfully, there’s a better way. Learning how to build AI blog automation with n8n can seriously cut down your content creation time and smooth out your entire editorial process.
In this guide, we’ll dig into what’s actually causing these workflow logjams. From there, we’ll walk through the practical steps to spin up an automated pipeline using n8n, and then explore some advanced IT strategies for deploying AI content generation like a pro.
Why You Need to Learn How to Build AI Blog Automation with n8n
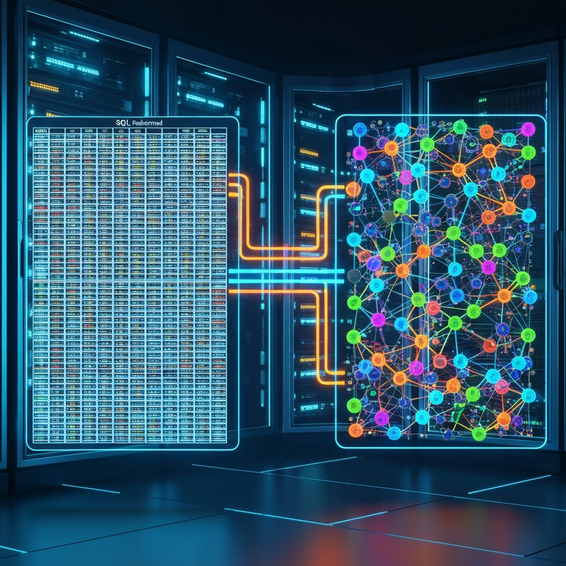
At the heart of the manual content struggle is our heavy reliance on disconnected systems. Think about it: most writers and developers juggle entirely isolated tools for different stages of the publishing journey. You might brainstorm with an AI model, draft the piece in a dedicated word processor, and eventually wrestle it into a CMS like WordPress to go live.
From a technical perspective, bridging the gap between these silos almost always requires a human hand. Without a smart, API-driven layer doing the heavy lifting, you’re stuck with the mind-numbing task of copying and pasting. Naturally, this fractured approach opens the door to wonky formatting, forgotten metadata, and publishing schedules that are anything but consistent.
Worse still, manual workflows are notoriously hard to scale. Say you want to harness AI content generation to pump out ten posts a week; suddenly, your administrative overhead skyrockets right alongside your output. However, by bringing an orchestration tool like n8n into the mix, you can effortlessly shift from a clunky manual routine to a sleek, event-driven pipeline.
Quick Fixes: Setting Up Your First n8n Workflow
Ready to finally fix that broken content pipeline? You’re in luck, because n8n provides an incredibly powerful, node-based automation platform to get the job done. Here are the foundational steps you’ll need to kickstart your own automated WordPress blogging pipeline.
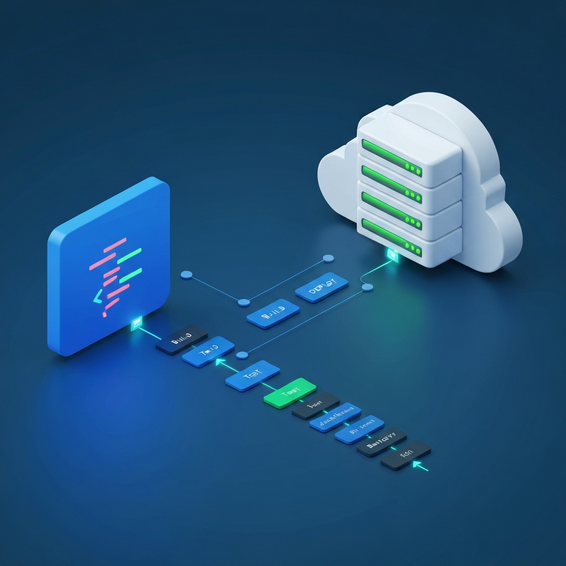
- Deploy your n8n environment: You can opt for n8n Cloud if you want a lightning-fast setup. Alternatively, if you prefer absolute control over your data, spinning up a self-hosted instance via Docker is the way to go.
- Create a Trigger Node: Every good automation needs a kickoff point. You might use a Schedule Trigger to fire off the workflow every morning with your coffee, or a Webhook Trigger to launch the process the second you send a specific payload from an outside app.
- Integrate the OpenAI API: Next, drop an OpenAI Node onto your canvas. After plugging in your API key, configure the node to draft a blog post based on your tailored prompt. To keep things fresh, you can even feed dynamic variables—like a daily topic—straight into that prompt.
- Format the Data: Raw text isn’t enough, so you’ll need to add a Set Node (or a quick JavaScript block). This step maps the OpenAI output precisely into the specific JSON format your CMS demands.
- Connect the WordPress Node: To bring it all home, add a WordPress Node. Set it up to create a new post, push your nicely formatted text into the content field, and confidently set the status to “Draft.”
If you’re building out custom prompts, it helps to feed the OpenAI node a highly structured template. For instance, instruct the AI to deliver the title, meta description, and article body as separate elements within a neat JSON object. Doing this makes mapping those specific fields to your WordPress node an absolute breeze later on.
Ultimately, this foundational setup completely kills the dreaded copy-paste phase. Your n8n workflows will quietly generate the text in the background and pipe it directly into your WordPress dashboard, where it sits patiently waiting for a human review.
Advanced Solutions for AI Blog Automation
For DevOps engineers and seasoned IT professionals, a vanilla text-generation pipeline probably won’t cut it. To consistently churn out high-quality, production-ready content, you really need to weave in advanced logic, external data fetching, and meticulous formatting rules.
Retrieval-Augmented Generation (RAG)
We all know standard LLMs have a habit of hallucinating or spitting out painfully generic fluff. To counter this, try building a Retrieval-Augmented Generation (RAG) pipeline directly within n8n. Before your OpenAI node even thinks about drafting the article, set up an HTTP Request Node to scrape the latest documentation, industry news feeds, or your own internal wikis. By feeding this scraped data into the AI prompt as context, you guarantee that your automated content remains hyper-accurate and completely up-to-date.
Automated Image Generation
Let’s face it: a blog post just feels naked without a solid featured image. You can easily level up your workflow by dropping in a secondary OpenAI node configured for DALL-E 3, or even hooking into the Midjourney API. From there, use an HTTP Request Node to download the fresh image, push it straight into your WordPress media library via the REST API, and seamlessly attach it to your brand-new post ID.
Customizing Custom Post Types and Taxonomies
Plenty of technical blogs lean heavily on custom post types (CPTs) and intricate taxonomies to keep content organized. While the standard n8n WordPress node is great for pushing out basic posts, power users will want to bypass it and use the raw WordPress REST API via an HTTP Request node for ultimate flexibility. This approach lets you automatically assign categories, dynamically generate tags based on your AI prompt, and even populate Advanced Custom Fields (ACF) using structured JSON pulled right from the LLM.
Markdown to HTML Conversion
Because AI models naturally prefer spitting out Markdown, they often clash with WordPress, which typically craves raw HTML or Gutenberg blocks. The fix here is simple: just slip a Markdown Node between your AI generator and your CMS. This handy little step instantly translates your headers, bulleted lists, and bold text into crisp, clean HTML, ensuring your final draft looks flawless the moment it hits your dashboard.
Human-in-the-Loop Architecture
Rule number one of automation: never let an AI publish directly to your live audience without human oversight. Always configure your n8n workflow to save the WordPress post strictly as a draft. Then, cap off your pipeline by adding a Slack Node or Discord Node. You can have n8n ping your editorial channel with a direct link to the draft, politely prompting a real team member to give it a quick read and officially hit publish.
Best Practices for Automated Publishing
Whenever you start scaling up your ChatGPT automation, it’s crucial to lay down some strict operational ground rules. Sticking to these best practices will help you safeguard your security, optimize performance, and keep the SEO gods happy.
- Secure Your Credentials: Make it a habit to always use n8n’s built-in credential manager. Whatever you do, never hardcode your sensitive API keys directly into HTTP Request nodes or JavaScript functions.
- Optimize Prompt Engineering: Don’t rush your prompts. Invest real time into crafting comprehensive system instructions. By giving the AI a clearly defined persona, rigid output constraints, and strict tone-of-voice guidelines, you’ll easily protect your site’s unique brand identity.
- Maintain EEAT Standards: Google heavily prioritizes Experience, Expertise, Authoritativeness, and Trustworthiness. Because purely AI-generated text often falls short on EEAT, you should always weave personal anecdotes or proprietary data into your prompts—and, of course, mandate a human editing phase.
- Implement Error Handling: Let’s face reality—APIs fail sometimes. Be sure to configure the “On Error” settings inside your n8n nodes. It’s also wise to set up dedicated error-trigger workflows that instantly alert your IT team via email or webhook if the OpenAI connection drops or your WordPress site suddenly goes offline.
On top of that, you really should consider building some rate-limiting into your workflow. If a trigger accidentally goes rogue, the last thing you want is your system blasting out hundreds of posts in a matter of minutes. That’s a fast track to search engine spam penalties and a drained API budget. To avoid this, simply use the n8n Wait Node to space out your executions and keep your API usage comfortably within safe limits.
Recommended Tools and Resources
To successfully pull off this kind of infrastructure, you’re going to need a rock-solid tech stack. Here are the core tools I highly recommend keeping in your toolkit for this project:
- n8n: This is your primary automation engine. I strongly suggest running it via Docker on a private VPS so you can maintain absolute control and privacy over your data.
- OpenAI API: An absolute must-have for generating rich, high-quality text and precise code snippets. Currently, the GPT-4o model offers the best reasoning chops when it comes to tackling dense technical articles.
- WordPress: Hands down the most versatile CMS available. Thanks to its incredibly robust REST API, you get granular control over everything from custom post types and metadata to complex media uploads.
- Anthropic Claude (Alternative): If you’re aiming for longer, highly nuanced writing, Claude 3.5 Sonnet is a fantastic alternative to OpenAI. Best of all, it integrates seamlessly into n8n using standard HTTP requests.
Frequently Asked Questions
Is n8n better than Zapier for AI automation?
If you’re a technical user, the short answer is yes. n8n brings a lot to the table—like complex conditional logic, looping, custom JavaScript nodes, and the ability to self-host. These are features Zapier either completely lacks or charges an arm and a leg for. Because of this, n8n is practically built for intricate OpenAI API integration and deep, multi-step workflows.
Can Google detect AI content published via n8n?
Interestingly, Google’s algorithms care much more about the quality and helpfulness of a piece than the actual mechanics of how it was generated. That being said, lazy, unedited AI content usually lacks any real originality and tends to perform poorly in the rankings. That’s why using n8n to prepare solid drafts for human editors remains the safest, most sustainable long-term strategy.
How much does n8n AI blog automation cost?
If you choose to self-host n8n, the core software is entirely free. Your main expenses will boil down to a basic VPS hosting plan (usually around $5 to $10 a month) and your actual AI API usage. Since generating a massive, comprehensive blog post with GPT-4 generally costs just a few pennies, it is drastically more economical than traditional outsourcing.
Conclusion: How to Build AI Blog Automation with n8n
At the end of the day, mastering how to build AI blog automation with n8n is an absolute game-changer for tech bloggers, DevOps teams, and digital publishers. By wiring powerful LLMs straight into your WordPress backend, you completely eliminate soul-crushing manual data entry and put your content creation cycle into overdrive.
The best approach is to start small. Try automating simple, rough drafts using the standard n8n nodes first. Once you’ve validated that basic workflow, you can confidently branch out into more advanced techniques like RAG, dynamic image generation, and bulletproof error handling. By blending smart automation with thoughtful human editing, you’ll easily scale your content output without ever sacrificing quality or tanking your SEO performance.