How to Run Your Own Cloud Server at Home: The Ultimate Guide
Sick of watching your monthly bills for Google Drive, Dropbox, or iCloud creep higher year after year? Maybe you’re growing concerned about Big Tech companies scanning your private family photos, sensitive business files, and personal documents. If you’re ready to reclaim total control over your digital life, figuring out how to run your own cloud server at home is the perfect answer.
Not too long ago, self-hosting a private server was an intimidating project meant only for seasoned system administrators. But things have changed. Thanks to incredible leaps in open-source software, simplified containerization, and cheap hardware, literally anyone can put together a secure, highly scalable personal cloud.
Throughout this comprehensive guide, we’ll walk you through exactly how to run your own cloud server at home. We’ll start with incredibly simple, beginner-friendly setups before moving on to robust, enterprise-grade architectures. Along the way, we’ll detail the exact hardware you need, highlight the best open-source software available, and share essential security practices to ensure your data stays locked down.
Why You Need to Know How to Run Your Own Cloud Server at Home
Before we dive into the technical details, let’s look at why so many power users and small businesses are shifting away from public cloud infrastructure. Relying entirely on big providers often leads straight to cloud sprawl and frustrating vendor lock-in.
These tech giants reel you in with generous free storage tiers. Eventually, though, your digital footprint expands with high-resolution smartphone photos, 4K videos, and massive system backups. Before you know it, you’re boxed into paying steep, recurring monthly subscriptions just to keep your files accessible.
Beyond the financial aspect, data privacy has become a glaring concern. When your files live on public servers, algorithmic bots frequently scan them for targeted advertising or arbitrary compliance checks. By mastering how to run your own cloud server at home, you unlock several life-changing benefits:
- Absolute Data Sovereignty: Your files live strictly on your own physical hard drives. No third-party corporation can peek at them.
- Cost Efficiency: Once you pay for the initial hardware, those pesky recurring storage fees vanish entirely. This translates into massive savings over the long haul.
- Endless Customization: You aren’t just limited to file storage. You can easily run specialized applications for photo management, password vaulting, and seamless media streaming right alongside your cloud documents.
If you’re eager to dive even deeper into private infrastructure, be sure to check out our extensive HomeLab setup guides.
Quick Fixes: Basic Solutions for Beginners
You might be wondering how to set up a private server without getting bogged down in confusing command-line interfaces or advanced Linux networking. Thankfully, there are plenty of plug-and-play solutions ready to go right out of the box.
1. The Raspberry Pi and Nextcloud Setup
When it comes to self-hosted cloud storage, Nextcloud is the undisputed king. It functions almost identically to Google Drive, with one crucial difference: it runs entirely on your personal hardware.
- Grab the Hardware: Pick up a Raspberry Pi 4 or 5, a high-quality MicroSD card, and a reliable external USB hard drive to handle your storage.
- Flash an OS: Load your MicroSD card with a standard operating system like Ubuntu Server or Raspberry Pi OS.
- Install Nextcloud: Take advantage of NextcloudPi. This ready-to-use image comes with Nextcloud pre-configured specifically for Raspberry Pi devices, saving you hours of setup.
- Connect to Your Network: Plug the Pi directly into your home router. Just like that, you can access your files locally via the Nextcloud mobile app or your favorite web browser.
2. Network Attached Storage (NAS) Devices
For those who prefer a reliable, turnkey approach, investing in a pre-built NAS (Network Attached Storage) from a brand like Synology or QNAP is a fantastic route to building a self-hosted cloud.
- Synology Drive: Synology NAS devices feature a phenomenal built-in application called Synology Drive, which flawlessly replicates the familiar Dropbox workflow.
- RAID Protection: Because NAS enclosures hold multiple hard drives, you can mirror your data across them (a setup known as RAID 1). If a single drive happens to fail, your irreplaceable files remain completely safe.
- Rich App Ecosystem: These devices boast incredibly user-friendly app stores. With just a single click, you can install tools like Plex, Docker, or automated backup utilities.
3. CasaOS on an Old PC
Not thrilled about buying brand-new hardware? You can easily transform an old laptop or dusty desktop into a fully functional personal cloud server using CasaOS. Operating as a simple, lightweight dashboard layered over Ubuntu or Debian, CasaOS provides a gorgeous web GUI. From there, you can install Nextcloud, FileBrowser, and various media servers with a single click—bypassing the dreaded terminal entirely.
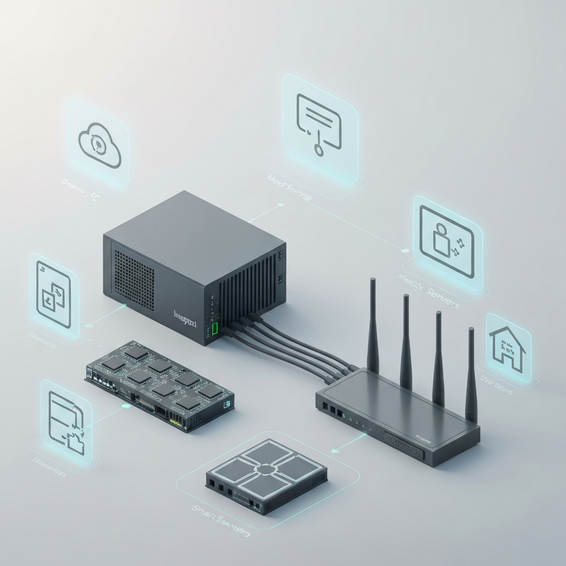
Advanced Solutions: Pro-Level Home Cloud Architectures
If you’re an IT professional, software developer, or just a hardcore tech enthusiast, you’ll likely want something with a bit more horsepower. Building an advanced cloud server means diving into the worlds of virtualization, containerization, and secure external access.
1. Proxmox VE Virtualization
Rather than installing a single traditional operating system on your server hardware, you can deploy a bare-metal hypervisor like Proxmox Virtual Environment (VE). Proxmox gives you the power to slice up your server’s hardware resources—like CPU cores, RAM, and storage—into completely isolated Virtual Machines (VMs) and Linux Containers (LXC).
For example, you might dedicate one specific container to Nextcloud, set up another for a PostgreSQL database, and spin up a third solely for a VPN server. By taking this modular approach, a crash in one individual service won’t take down your entire cloud infrastructure.
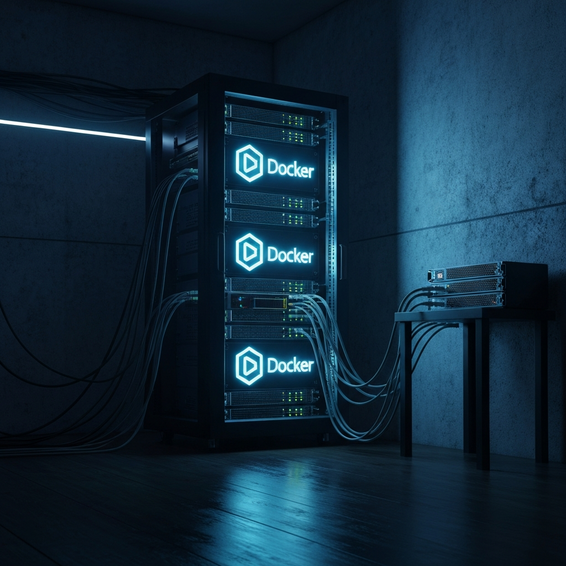
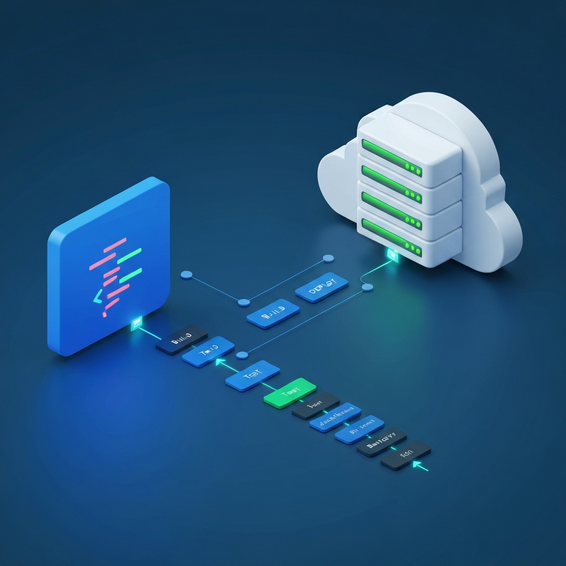
2. Docker Containerization
Deploying your cloud applications via Docker containers and Docker Compose has quickly become the gold standard for modern DevOps and HomeLab setups. By writing out a simple docker-compose.yml file, you can cleanly define your cloud app, its companion database, and even a fast caching server like Redis in one go. Not only does this keep your system organized, but it also makes backing up, migrating, or updating your cloud server a breeze.
3. Secure Remote Access
Figuring out how to run your own cloud server at home is truly only half the battle. Securely reaching those files from a coffee shop or a hotel room is where many beginners stumble. As a golden rule, you should never open port 80 or 443 directly to the wild internet without strict security measures in place. Instead, lean on modern tools like these:
- Tailscale or WireGuard: These brilliant platforms allow you to create a zero-configuration mesh VPN. By installing Tailscale on both your home server and your smartphone, you establish a secure, heavily encrypted tunnel directly back to your files without having to forward a single router port.
- Cloudflare Tunnels: Let’s say you want to access your private cloud using a standard, easy-to-remember web address (like
cloud.yourdomain.com). A Cloudflare Tunnel will securely route incoming traffic straight to your home server, all without exposing your actual residential IP address to the public web.
Best Practices for HomeLab Cloud Servers
Taking charge of your own infrastructure definitely requires a slight mindset shift. Congratulations, you are now the lead sysadmin! That means server security and data integrity fall squarely on your shoulders. To maintain a healthy, resilient home server, be sure to adopt these critical best practices:
- The 3-2-1 Backup Strategy: Remember, self-hosting is not a backup strategy in and of itself. You should always maintain 3 separate copies of your data, stored across 2 different types of media, with at least 1 copy tucked safely offsite. (An encrypted external hard drive at a trusted friend’s house or a highly affordable AWS S3 Glacier bucket works perfectly).
- Enforce SSL/TLS Certificates: If you plan on accessing your server via a custom domain name, it is imperative to use a reverse proxy like Nginx Proxy Manager or Traefik. When paired with Let’s Encrypt, these tools can automatically generate and renew free SSL certificates to securely encrypt your traffic.
- Implement 2FA: Always enable Two-Factor Authentication on your Nextcloud administrative account. Even if a malicious bot somehow guesses your master password, that extra 2FA hurdle will stop them dead in their tracks before they can touch your private files.
- VLAN Isolation: Check to see if your home router supports VLANs (Virtual Local Area Networks). If it does, isolate your cloud server on its own dedicated network segment. This way, if a cheap smart-home IoT device gets compromised, a hacker cannot simply pivot over to your private cloud storage.
Finally, if you happen to be integrating these setups into a broader home automation ecosystem or a streamlined DevOps workflow, making sure your systems update automatically is an absolute must.
Recommended Tools and Resources
Piecing together a reliable, self-hosted system means choosing the right software stack. As you build and run your own cloud server at home, these are the top-tier tools we highly recommend checking out:
- Nextcloud: Currently the premier open-source choice for file syncing and sharing.
- ownCloud: A slightly more lightweight alternative to Nextcloud that runs wonderfully on aging hardware.
- Proxmox VE: A remarkably powerful, enterprise-grade virtualization management platform that remains completely open-source.
- TrueNAS SCALE: A brilliant Linux-based operating system designed to transform a standard PC into a beast of a NAS using the incredibly robust ZFS file system.
- Nginx Proxy Manager: An incredibly intuitive, beginner-friendly Docker container designed to help you manage domain names, set up reverse proxies, and handle SSL certificates visually.
FAQ Section
Is it safe to run your own cloud server at home?
Yes, as long as it is configured properly, running your own cloud server at home is incredibly safe. By leveraging a mesh VPN like Tailscale, forcing SSL encryption through a reverse proxy, and practicing good password hygiene alongside two-factor authentication, your self-hosted setup can actually end up being vastly more private and secure than relying on a commercial public cloud.
How much does a home cloud server cost?
Server costs scale entirely based on your specific needs. You can actually start for $0 simply by repurposing a laptop you already own. If you want something dedicated, a basic Raspberry Pi setup will usually run you about $100 to $150, including the external hard drive. On the higher end, building a robust, multi-bay NAS or a custom Proxmox rig will likely cost anywhere from $300 to $800 upfront. The beauty, however, is that you completely eliminate those agonizing monthly subscription fees forever.
Do I need a fast internet connection for a home server?
Your in-house network speed (LAN) determines how fast you can push files back and forth while sitting at home—which, over Gigabit ethernet or modern Wi-Fi, is typically blazing fast. The only time your internet connection really matters is when you leave the house. At that point, your home internet provider’s upload speed becomes the primary bottleneck. Generally, an upload speed of around 20 Mbps or higher is highly recommended if you plan on streaming videos or pulling down large files while you’re out and about.
Can I access my home cloud server from my phone?
Absolutely. Heavyweight platforms like Nextcloud and Synology Drive offer beautifully designed, dedicated mobile applications for both iOS and Android devices. These apps allow you to seamlessly back up your phone’s camera roll in the background, view important documents on the fly, and stream your media just as easily as you would with iCloud or Google Photos.
Conclusion
Taking the time to learn how to run your own cloud server at home easily ranks among the most rewarding tech projects you can possibly undertake. It does far more than just shield your data privacy and kill off those annoying subscription costs; it actively provides you with a rich, practical understanding of modern server infrastructure, networking, and virtualization.
Don’t be afraid to start small today. Dust off an old PC or pick up a cheap Raspberry Pi, install Nextcloud or CasaOS, and just play around with self-hosting. Once you experience the sheer liberation of controlling your own digital life, you can confidently scale up to a dedicated NAS or a high-powered virtualization server. Take the leap, reclaim your digital sovereignty, and dive into the boundless possibilities of your very own private home cloud.